Move matching names through a classroom seat change
Name tags can make a midyear seat change easier when the desk, basket and storage space still belong to the same visual system. This guide shows how to update the names and move the pieces without rebuilding the room. Start with the places children actually use, then print only what changed.
Key takeaways
- Check the class list before opening the editable file.
- Choose the right piece for each surface and print a size test.
- Move a child's matching pieces together, then check the room from their viewpoint.
- Keep a small replacement routine instead of preparing a whole extra class set.
Which name tags need to move when seats change?
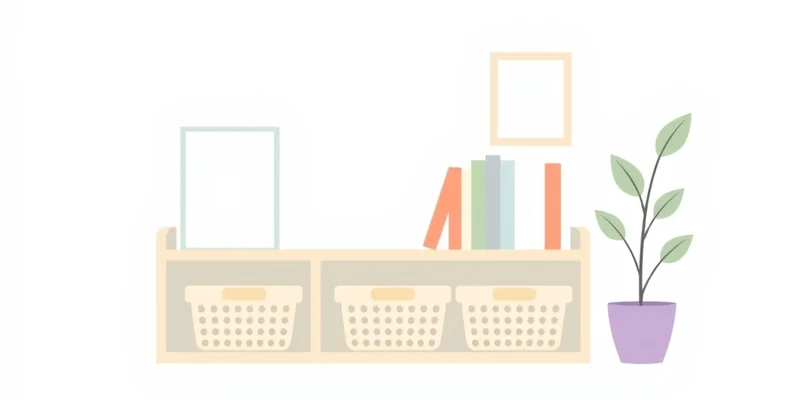
Walk through the room with a short checklist: desk, chair if used, supply basket, cubby and book bin. A name may appear in several places, but those places do different jobs. The desk piece identifies a workspace. The basket piece identifies belongings. A cubby piece helps a child return things without asking. Decide which locations move with the child and which remain attached to a fixed space.
Write down the destination before removing anything. A simple table prevents the familiar situation where every label is correct but one basket is still on the wrong shelf. Keep private class information in your own working copy; the example below describes locations rather than listing children. For coordinated options, browse the name tag collection, then compare the surfaces in your room rather than buying by appearance alone.
| Surface | Check before moving | Finish with |
|---|---|---|
| Desk | New seat and usable writing space | Piece lies flat |
| Basket | Belongings travel with the child | Name faces outward |
| Cubby | Fixed location or new assignment | Child can find it |
Update the editable file before you print
Open a copy of the editable file so the original remains a useful starting point. Check spelling against the class list, including preferred names and punctuation. Look at the longest name first because it reveals whether the text needs adjustment. Keep the lettering readable; shrinking every name to fit one unusually long example makes the rest unnecessarily small.
When a product offers several piece types, update the pieces you actually use. Soft Sky D002 includes name tags, desk plates and mini labels; those are different formats, so confirm the correct name appears on each selected format before printing. The Soft Sky collection shows how the same palette carries across the room. Save your working file with a clear local name, then make a separate print copy if your editing application needs that step. Do not assume one typing action automatically populates every page.
Test the size and print only what changed
Print one page at actual size before committing to the full update. Compare it with the surface and with a piece already in use. The D002 manifest specifies a 3.25 by 2.05 inch name tag, a 10 by 3.20 inch desk plate and a 2 by 1.10 inch mini label. Those measurements help choose the format; they do not mean every format fits every desk or basket.
Check the printer's paper selection and scaling setting together. A page can be the correct paper size and still be reduced by a fit option. Use the printing guide for the general workflow and the product instructions for its specific files. Once the test works, select the pages needed for changed names or damaged pieces. Keep the same paper and finish as the existing set when possible so a replacement feels consistent beside older pieces. Let ink dry before handling or laminating it.
Prepare the pieces for the surface they use
Cut the selected pieces along their intended edges. Decide which pieces are handled frequently and which stay still. A basket label may need a different fixing method from a desk plate, and a textured basket behaves differently from a smooth desk. Test a removable attachment on an inconspicuous area and follow its instructions; a printable file cannot guarantee that an adhesive is suitable for every surface.
If you laminate, keep enough sealed margin around the printed piece for the laminate to stay closed. Avoid attaching a thick edge where it catches a sleeve or interferes with writing. Check that the name remains visible when the basket is filled. The product FAQ explains the general digital download and printing process. Keep tools and loose attachment pieces out of children's reach while preparing the update. The aim is a readable identification system that survives ordinary use, rather than adding more decoration to a crowded workspace.

Move the set together and check the room
Take one destination at a time. Move the basket and its name tag together, put the desk piece at the new seat, and check any fixed storage assignment against your list. This approach makes a mismatch visible while you can still remember what moved. When the room is quiet, walk the route a child will take from the door to the desk and then to storage.
Look from the height and distance where each name will be read. A label hidden behind a handle is still hard to use even when the print is clear. Ask whether a newly arriving child could tell which basket belongs where without an explanation. Coordinating colors can help the room feel consistent, but color alone should not carry the identity. Keep the written name visible. If you want to test the general palette first, the free printables page offers a separate starting point; check the contents of that download before expecting the full product set.
For the companion reset, see the matching classroom planning guide.
Keep a replacement routine for the next reset
Save the checked working file and keep a short note of the paper, print setting and attachment method that worked. Store any usable spare pieces flat. A replacement routine is more useful than a pile of anonymous extras because it tells you how to reproduce a matching piece when a child joins or a basket changes. Review the names when classroom assignments change rather than assuming the first print remains correct all year.
For name tags that coordinate across desks and storage, compare the Soft Sky name tags and desk plates with the surfaces on your checklist. Confirm the listing contents before choosing your formats. Keep the update small: correct names, readable placement, a tested print and one matching set moved together. The next seat change then starts with a process you have already checked.
Try free classroom printables
Start with the separate free download and check its contents before choosing a full set.
Frequently asked questions
Should I print the entire file for a small update?
Start with a single size test. Once it works, select the pages you need for the pieces that changed. Keep a checked working copy for the next update.
Can I use US Letter and A4 paper?
Choose the file and printer paper setting that match. Use the product instructions and an actual size test so the printed pieces fit the surface you measured.
Does every piece need laminating?
Decide by handling and fixing method. Frequently moved pieces may benefit from protection, while static display pieces have different needs. Test the finish and follow the material instructions.
How do I keep the display coordinated?
Keep the checked pieces from one set together, use the same print settings for replacements, and compare new pieces with the ones already in use before attaching them.
Keep reading

Matchy Room — one theme, a whole room. Coordinated printable classroom decor, created with a teacher.
Reviewed by Lauren, an experienced classroom teacher — 18 years in a public school elementary classroom. Bachelor's degree in Elementary Education. Meet the makers